
Multi-Material and Two-Color Molding: Why Compatibility Matters
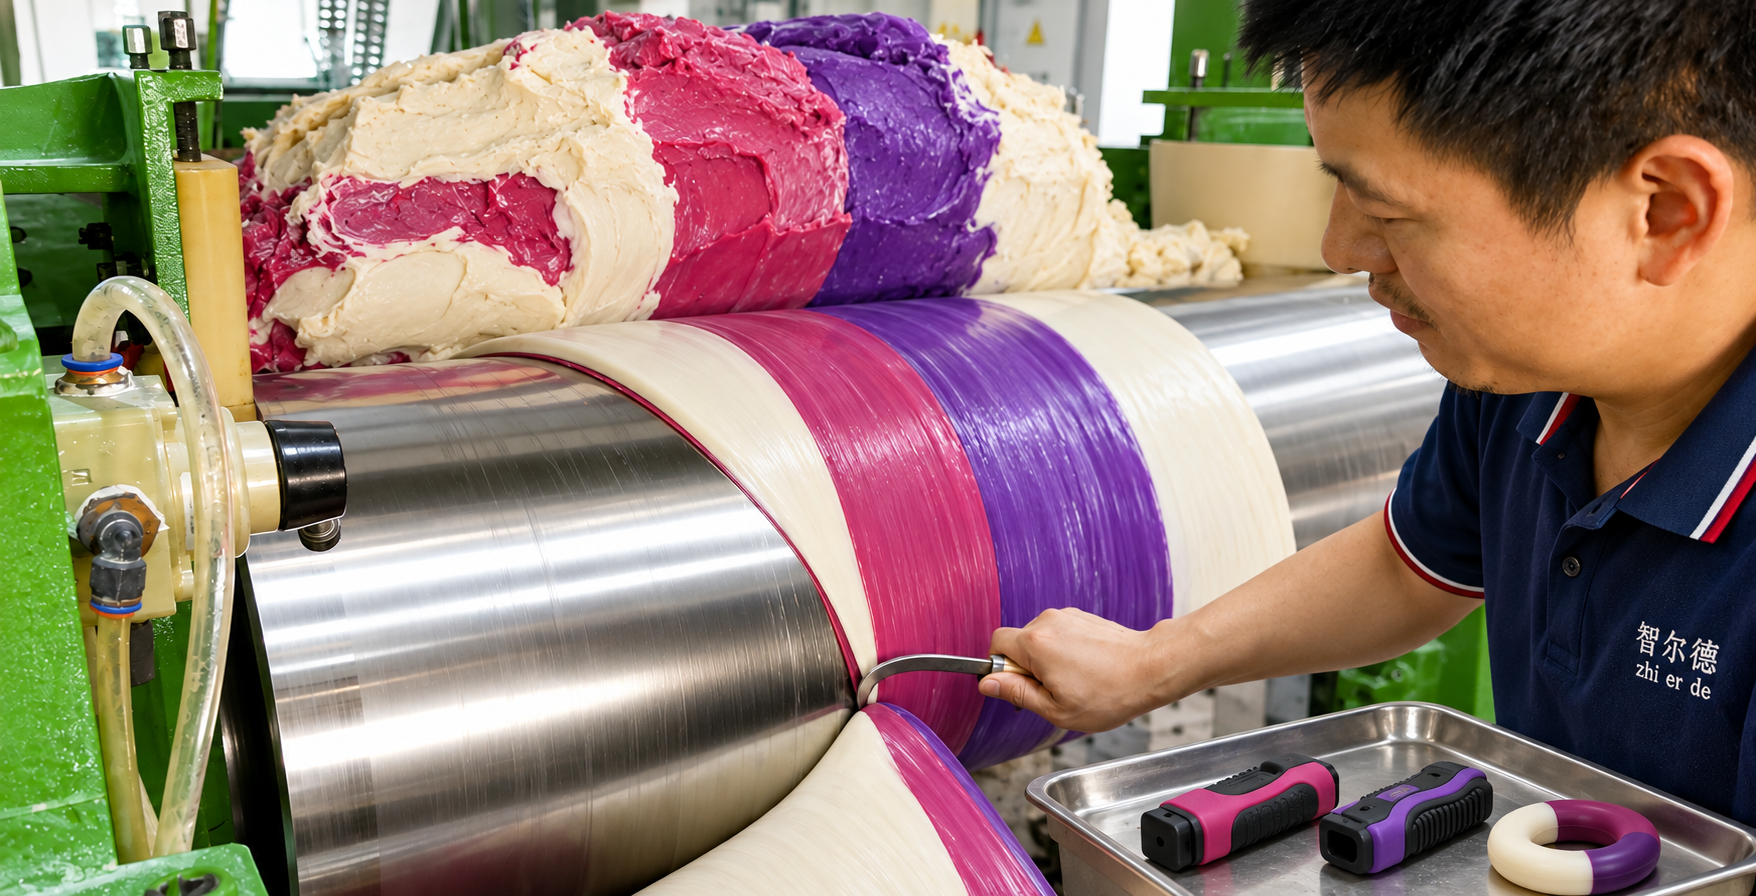
Learn how adhesion, mechanical interlocks, shrinkage and molding sequence affect the reliability of two-color and multi-material molded products.
Excerpt: Combining materials or colors can improve function and appearance, but the interface between them must be engineered before tooling begins.
Multi-material products are systems, not separate parts
Two-color and multi-material molding can combine soft and hard zones, different colors, grip surfaces, impact areas or functional inserts in one product. It can reduce secondary assembly and create a more integrated result.
However, placing two materials in the same mold does not automatically create a reliable bond. The interface must survive molding, cooling, flexing, temperature changes and real product use.
Successful development requires the material pair, geometry, tool concept and molding sequence to be reviewed together.
1. Chemical compatibility and adhesion
Some material combinations can develop useful adhesion during molding, while others have little natural affinity. Even within the same material family, different grades, additives, colorants or surface conditions can change bonding performance.
Questions to evaluate include:
Is chemical bonding expected or is mechanical locking required?
Does the substrate need to be warm during the second molding step?
Will contamination, release agent or moisture affect the interface?
Does the color system or additive package influence adhesion?
What bond test represents the product's actual load?
Bonding claims should be confirmed with the exact production materials and geometry.
2. Mechanical interlock design
When natural adhesion is limited—or when additional security is needed—the product can use mechanical interlocks. These may include holes, undercuts, channels, ribs, wraparound edges or other features that physically retain one material within another.
The goal is not simply to add more interlocks. Their location should follow the direction of load, allow proper material flow and avoid creating thin, weak sections.
Mechanical locking is particularly important where the product experiences peeling, twisting or repeated flexing.
3. Differential shrinkage
Different materials shrink at different rates as they cool or cure. If this behavior is not controlled, the product may warp, separate, show sink marks or develop internal stress.
Important considerations include:
Relative shrinkage of both materials
Thickness balance
Location and size of the overmolded zone
Cooling or curing sequence
Tool temperature
Part ejection and post-molding relaxation
The tool and process should be designed around the material pair—not developed independently and corrected later.
4. Molding sequence and process window
The order in which materials are loaded or injected can influence interface quality. Temperature, pressure, timing and surface condition must remain inside a stable process window.
For thermoplastic overmolding, the substrate temperature and second-shot melt condition may influence bonding. For rubber or hybrid processes, curing behavior and material preparation may be critical. Inserts must be located consistently, and the first material must resist movement or deformation during the next step.
Process development should define:
Material preparation
Loading or injection sequence
Critical temperature and pressure settings
Cycle time
Cooling or curing conditions
Demolding method
5. Interface testing should match the application
A simple manual pull test may identify an obvious problem, but it may not represent real use. Validation should focus on the product's expected failure mode.
Depending on the application, evaluation may include:
Peel or pull resistance
Twist and flex cycling
Impact testing
Temperature conditioning
Water or chemical exposure
Aging
Functional product testing
The acceptance standard should be agreed before mass production.
Common causes of multi-material failure
Frequent causes include:
Selecting materials by hardness or color only
Assuming all TPE grades bond to all plastics
Insufficient interlock geometry
Thin material at the interface
Poor moisture or contamination control
Unbalanced shrinkage
Tooling designed before the material pair is confirmed
Testing the prototype but not the production process
Resolving these questions early is faster and less expensive than correcting separation or deformation after the tool is complete.
ZED's approach to two-color and multi-material projects
ZED reviews the application, material pair, interface geometry, loading sequence and durability requirement as one development system. Depending on the project, we may recommend adhesion trials, mechanical interlocks, material changes or geometry adjustments before tooling approval.


